Signing Up for a Self Service Account
🔍How do I sign up for a self service account?
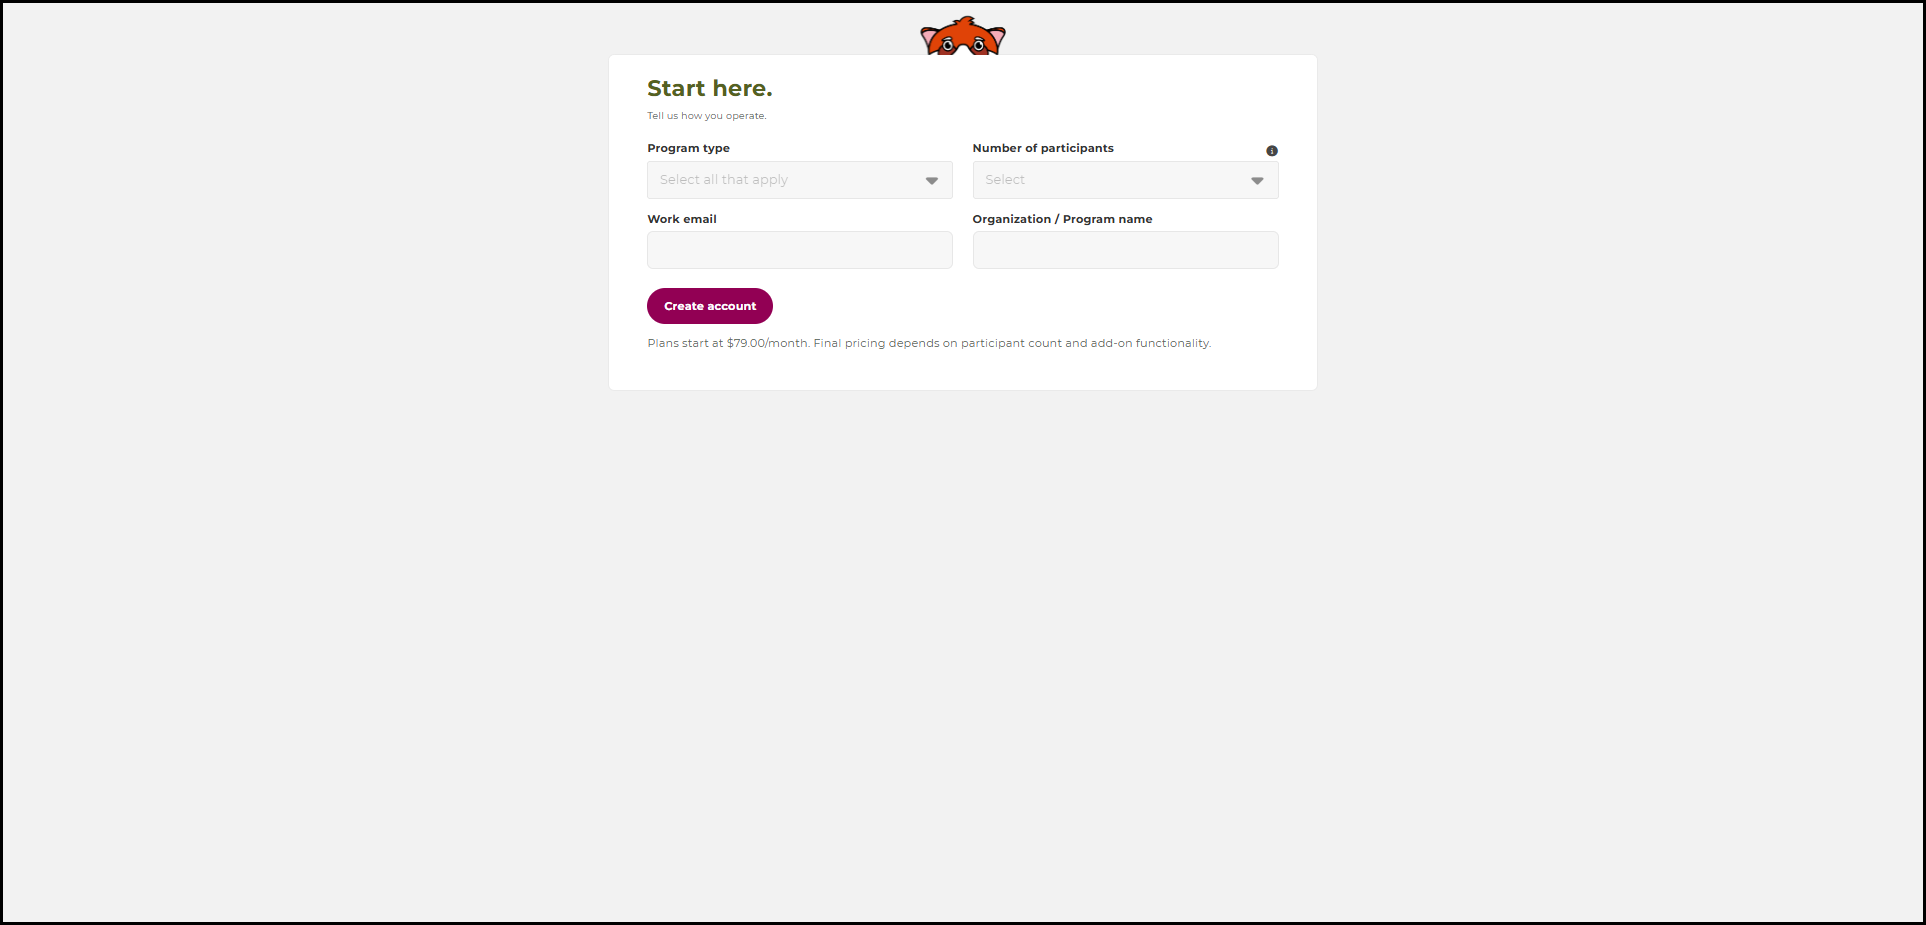
1. Visit go.arly.com/self-service/signup.
2. Complete the form including: program type, number of participants, work email, and organization/program name.
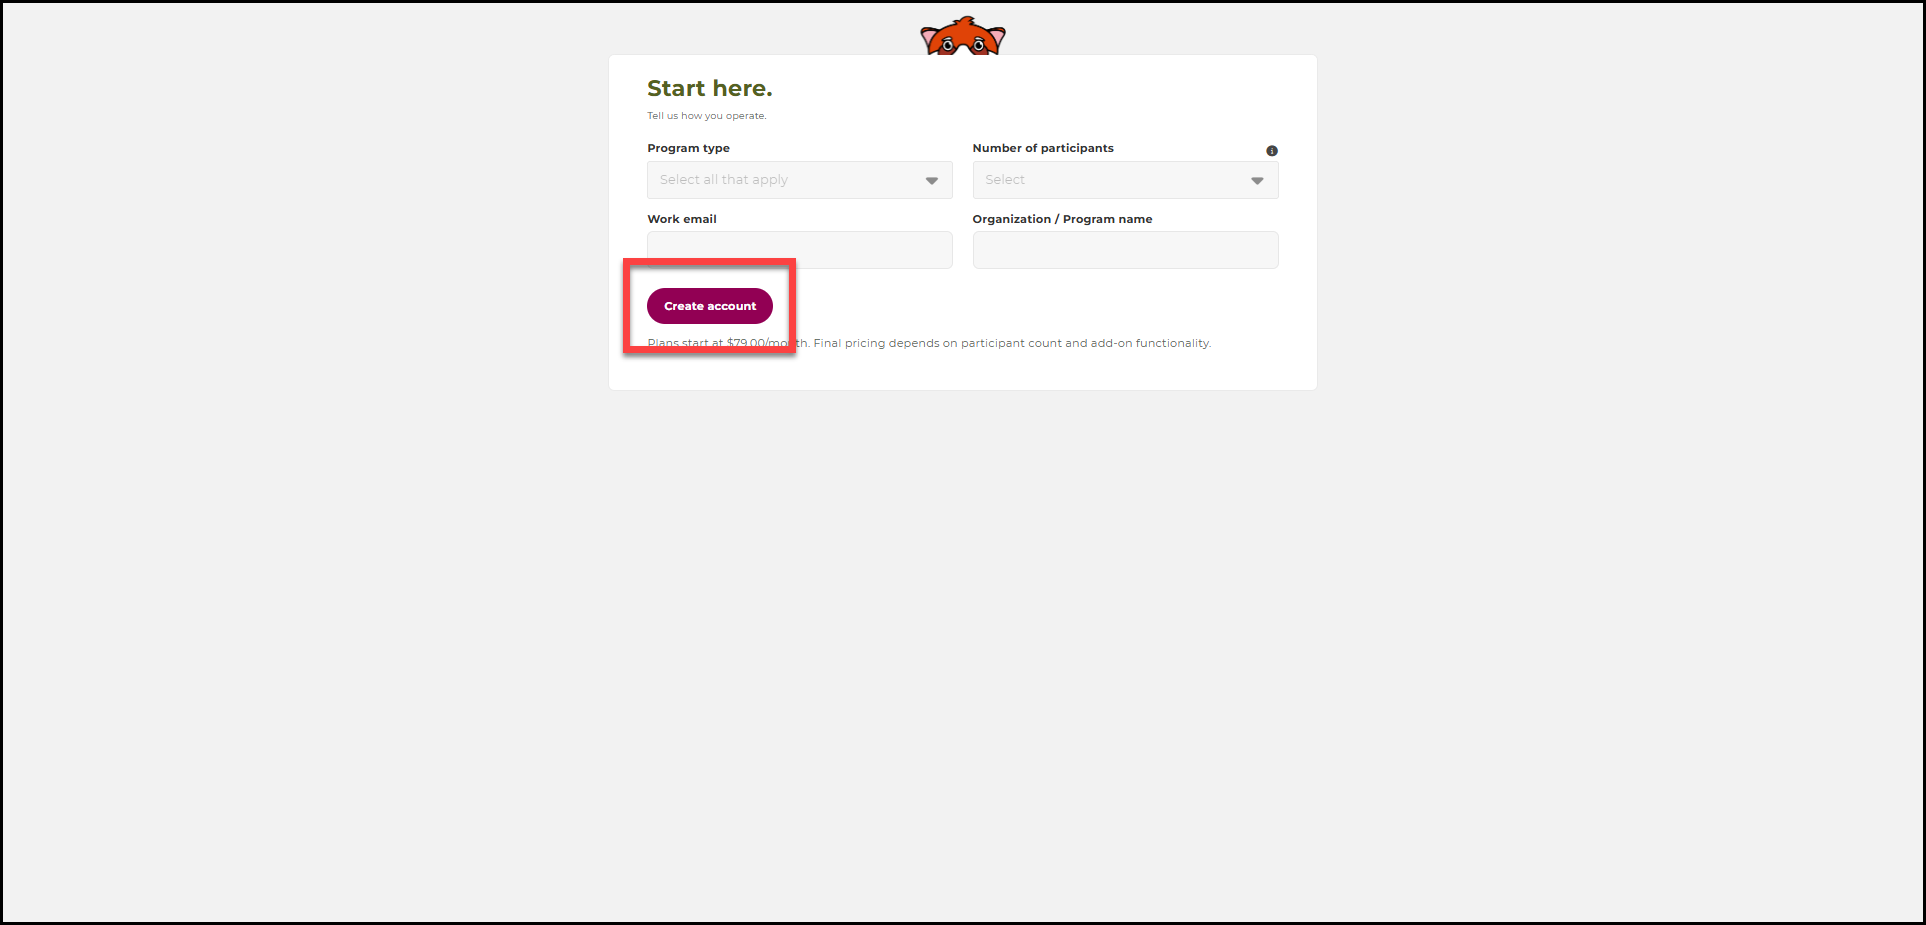
3. Select Create Account.
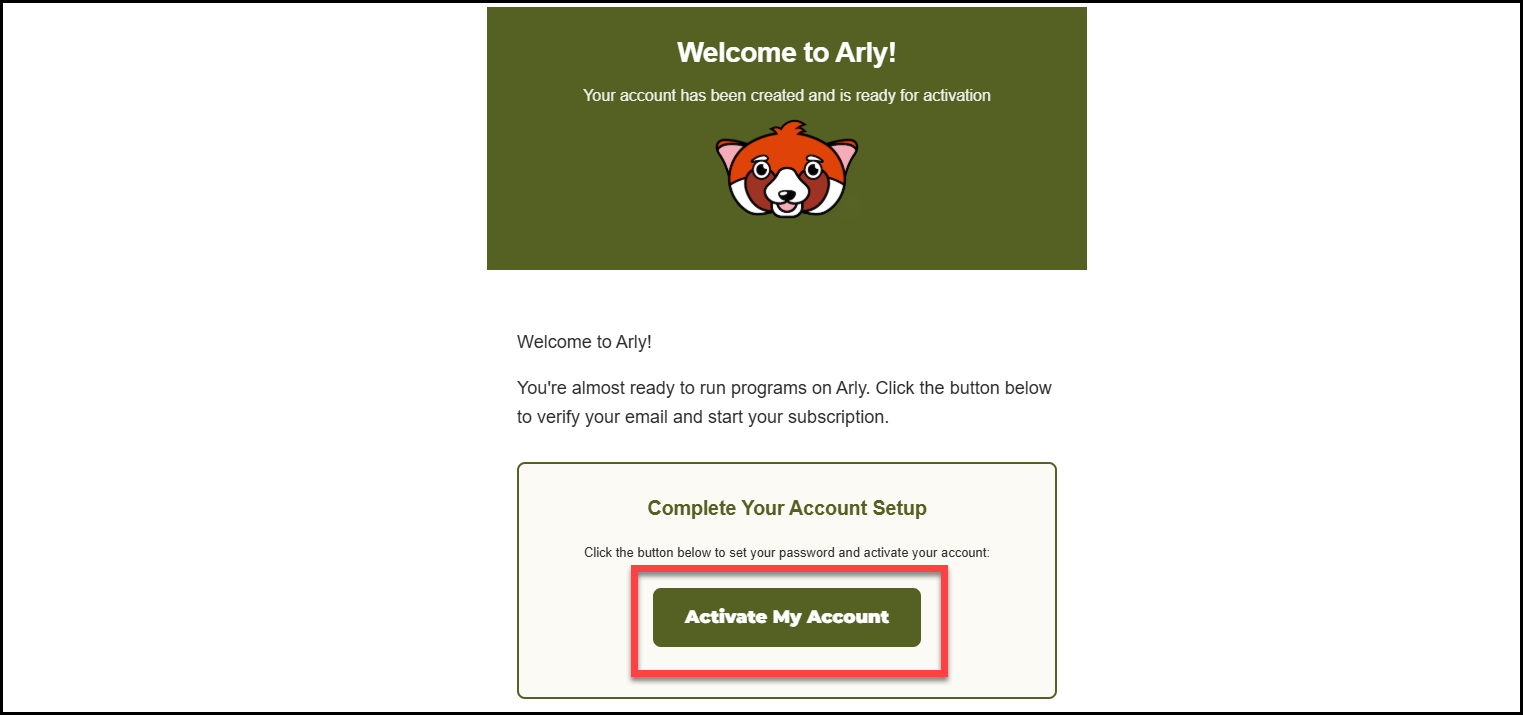
4. Check your email for a verification email. Select the link within the email to finish setting up your Arly account.
5. Fill in your Personal Information and select Next.
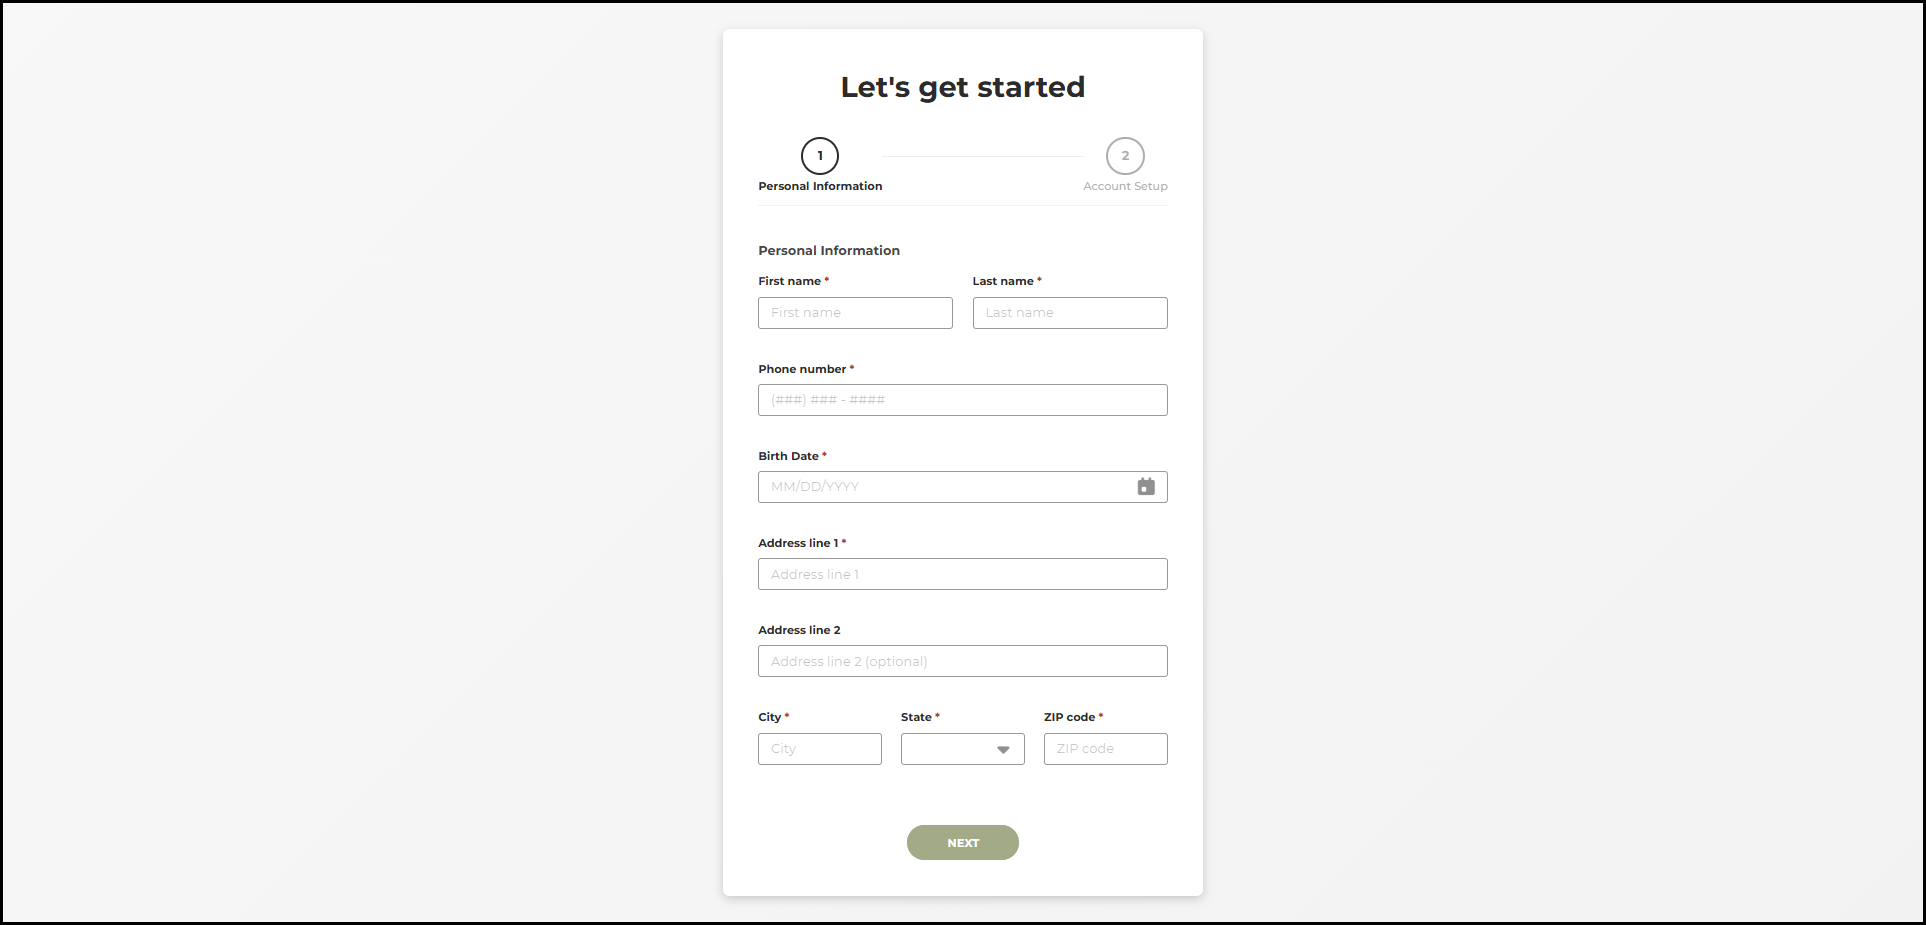
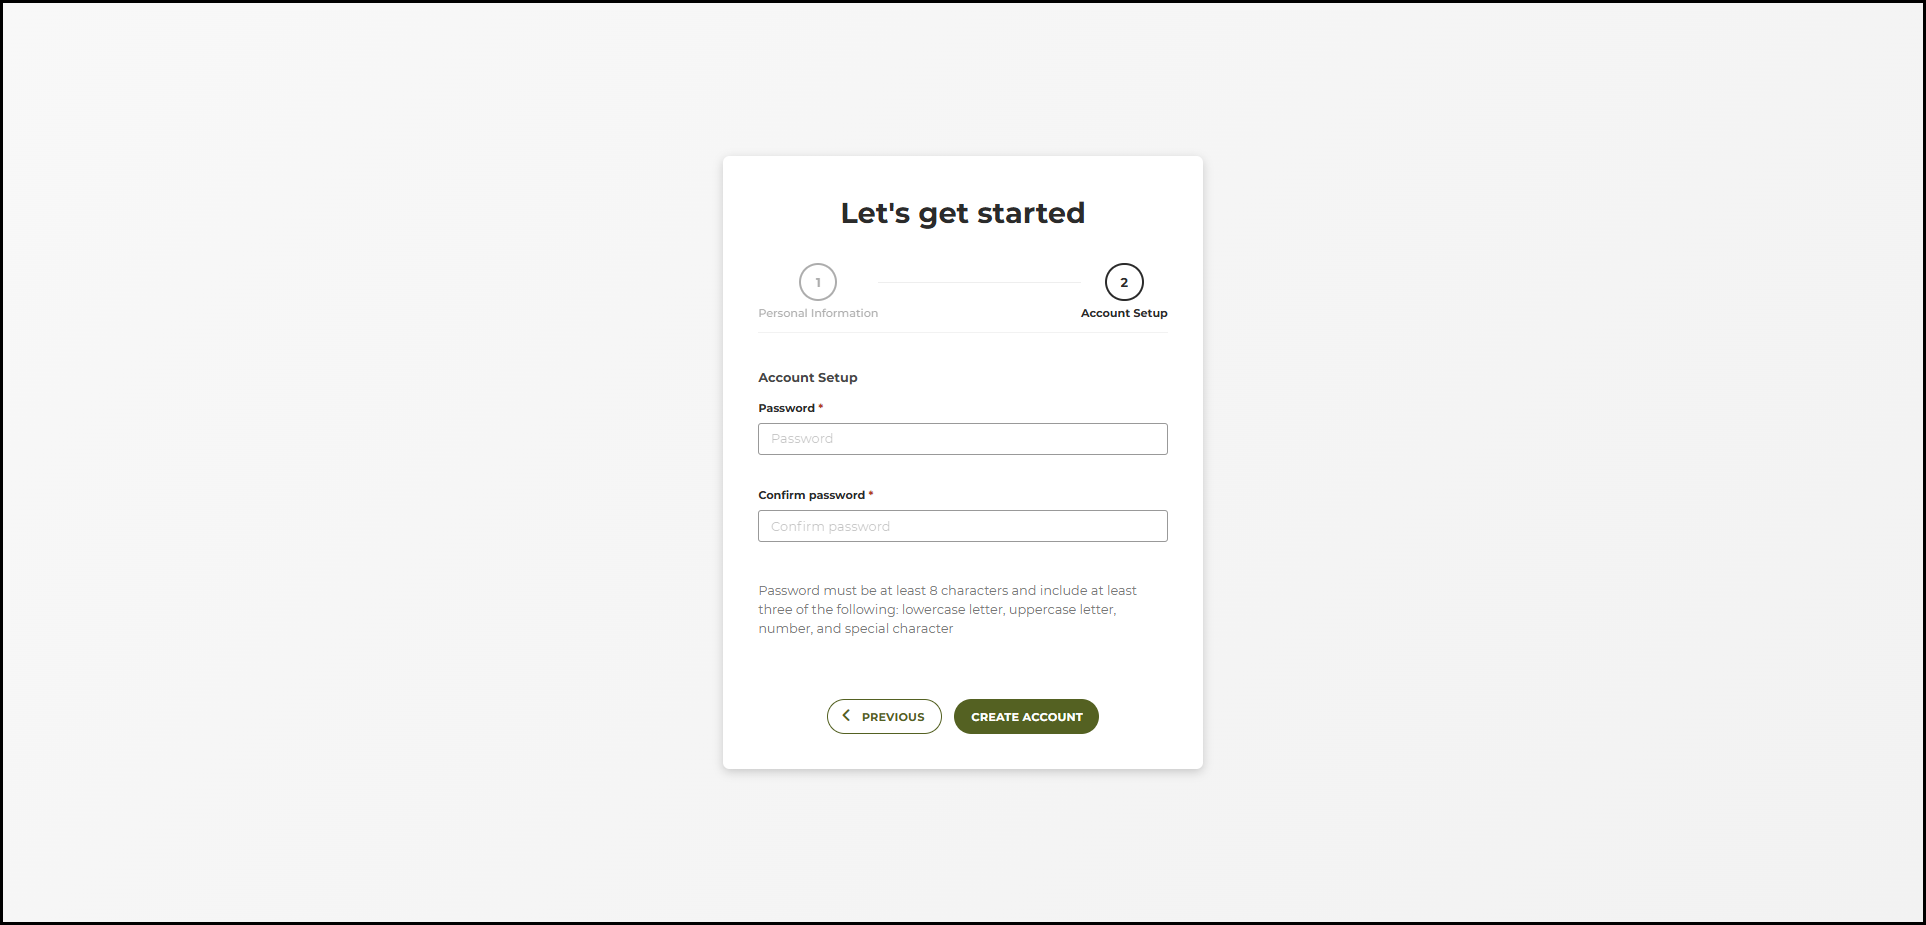
6. Choose a password and select Create Account.
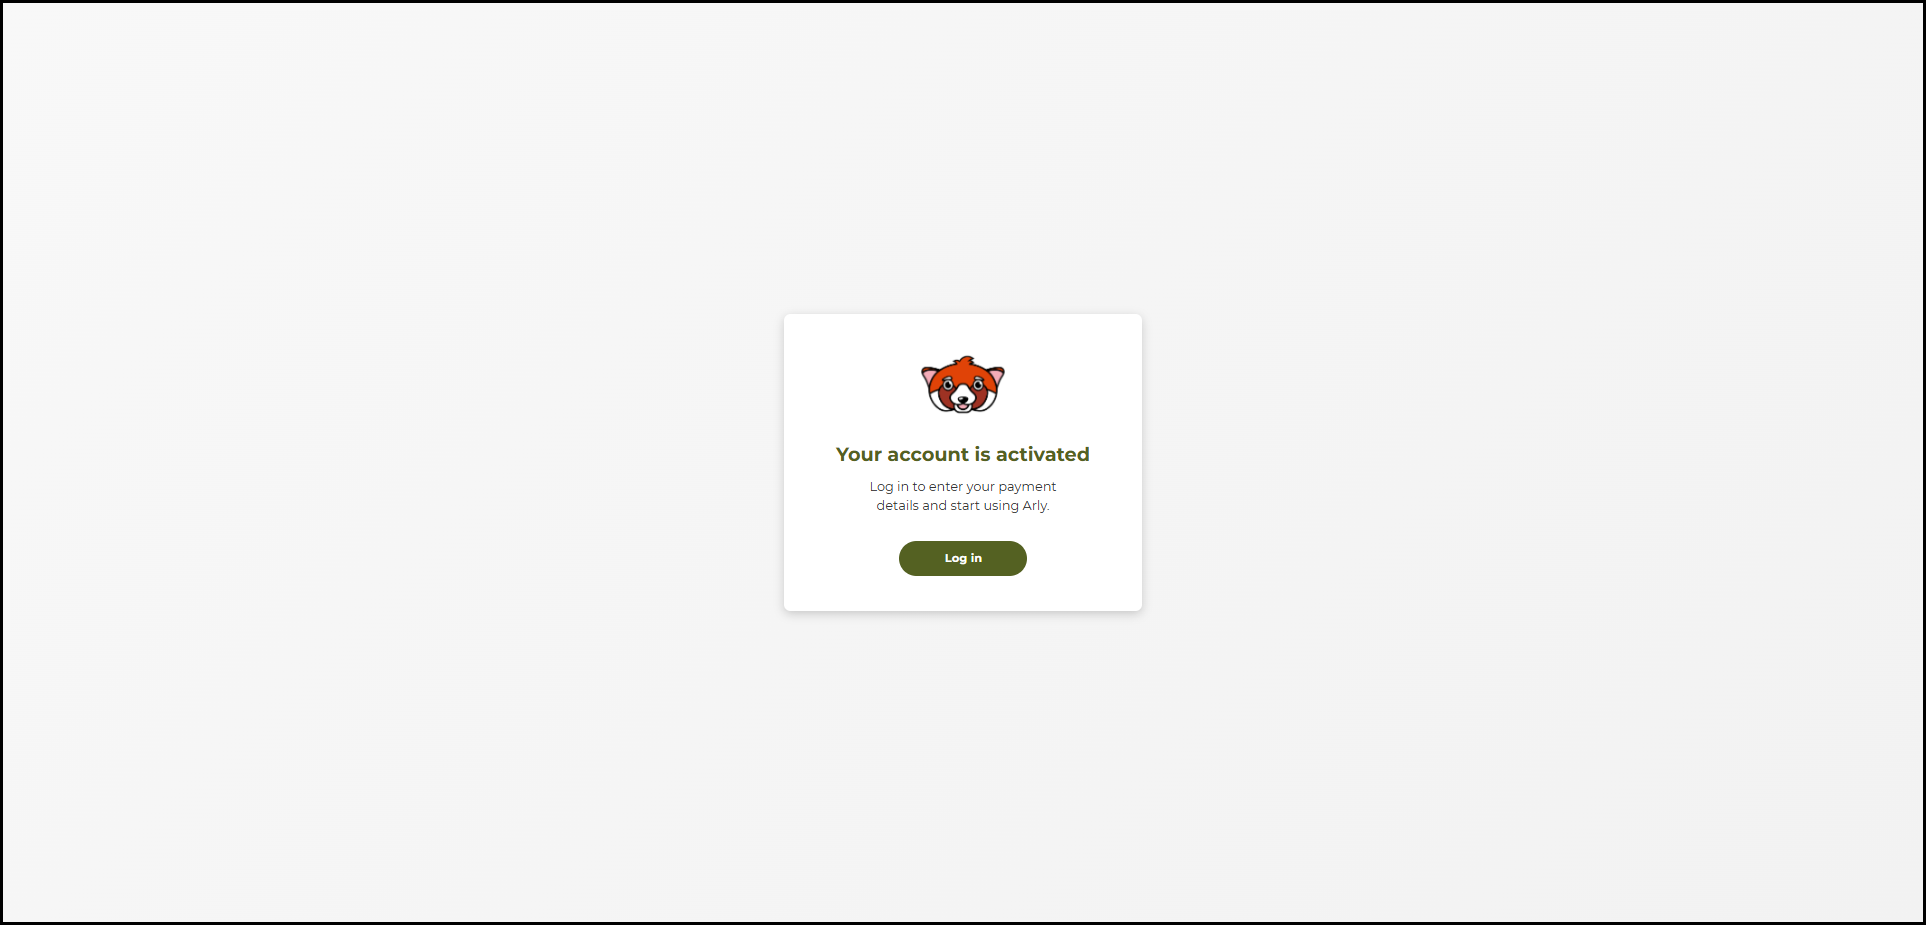
7. Your account is activated. Select Log In.
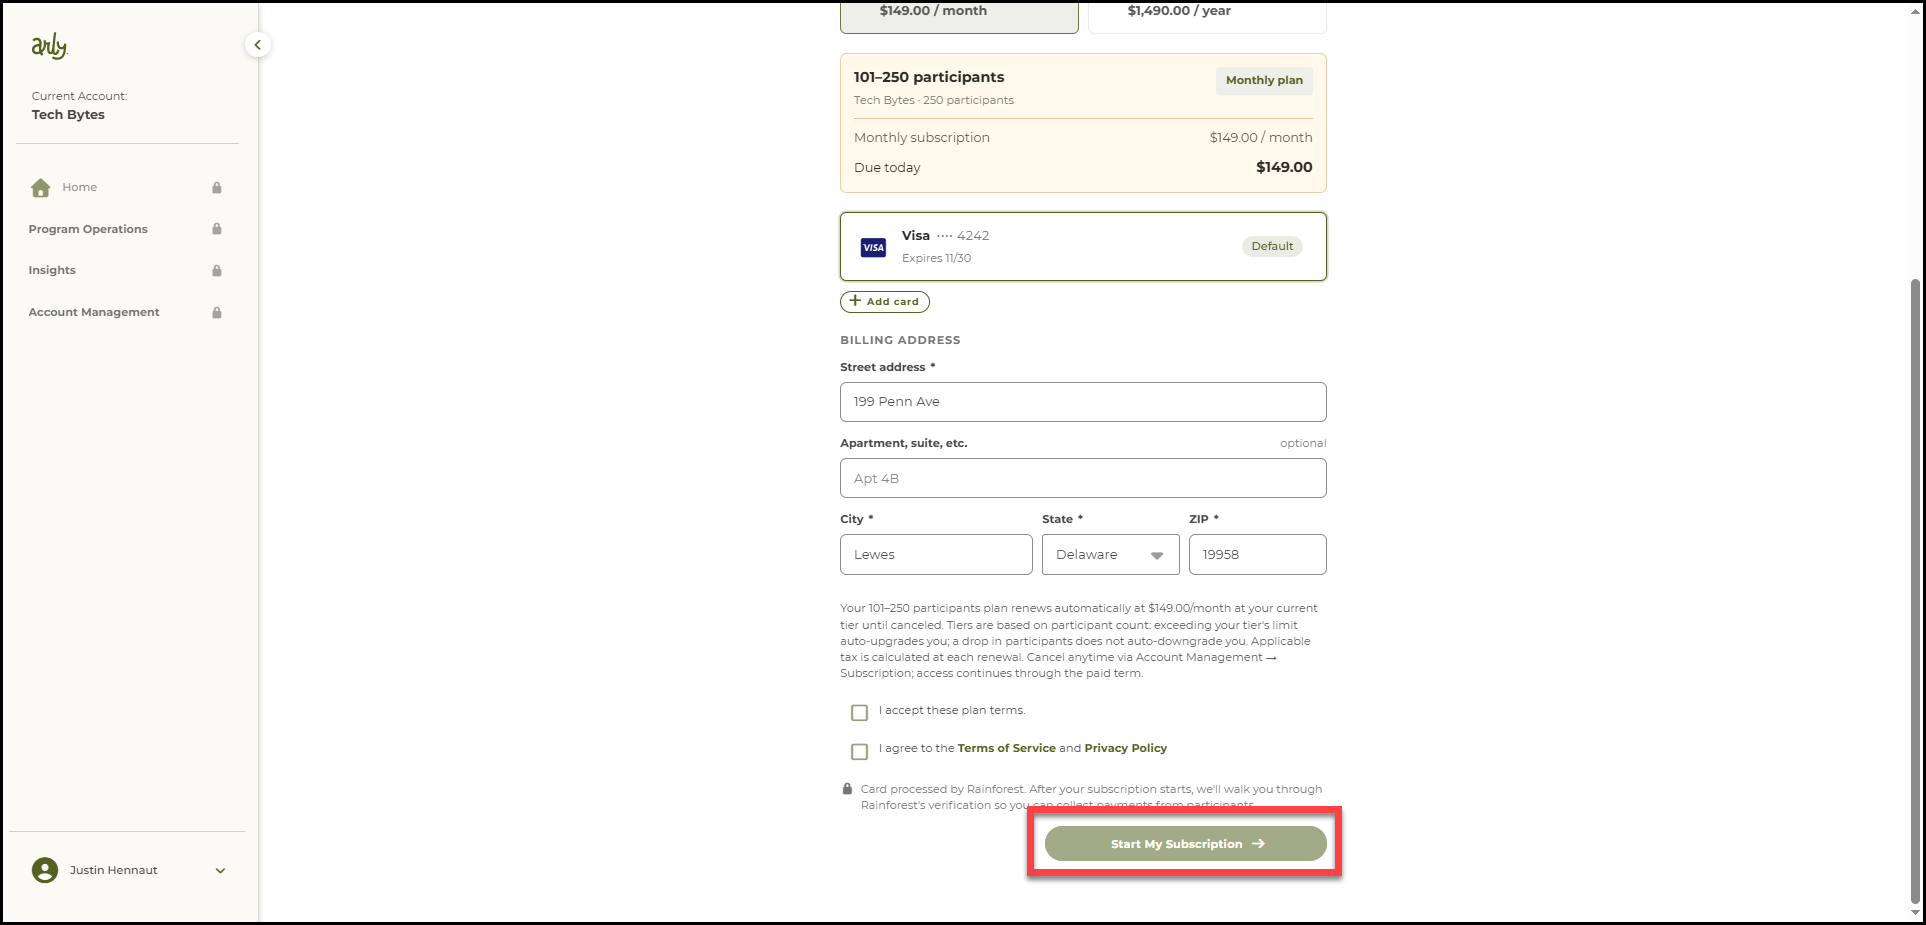
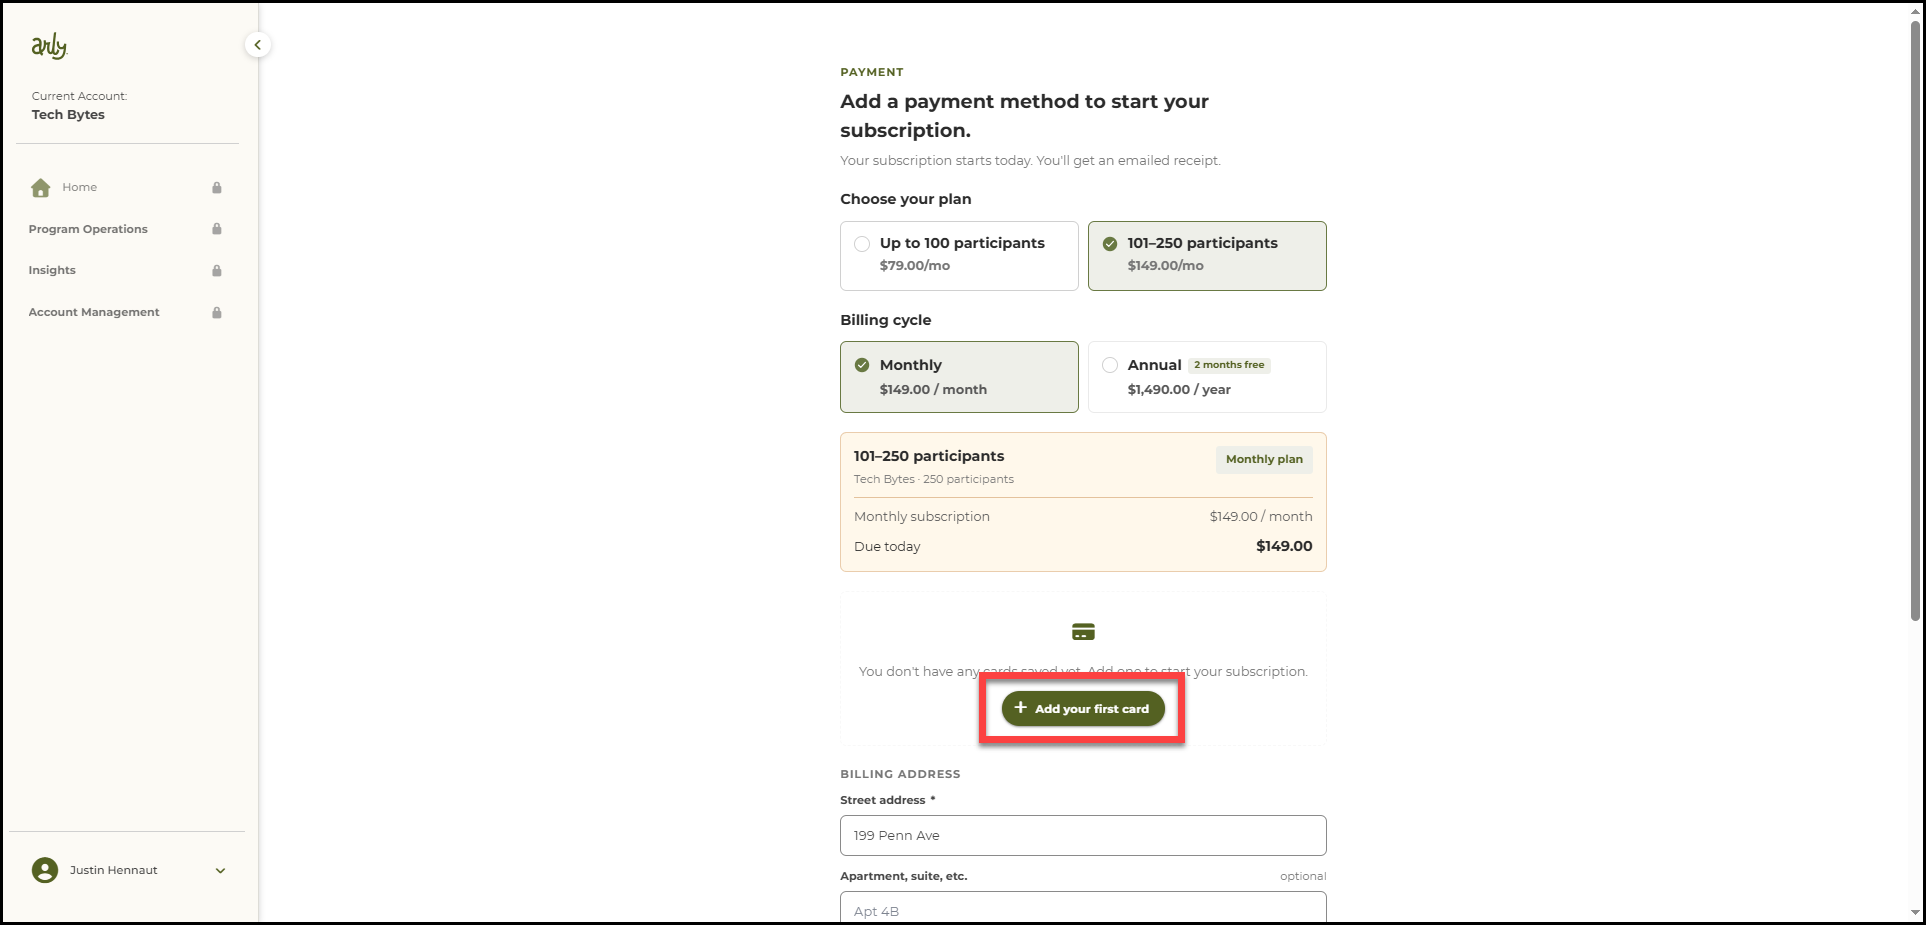
8. An appropriate plan has been selected for you. Select your Billing Cycle: monthly or annual.
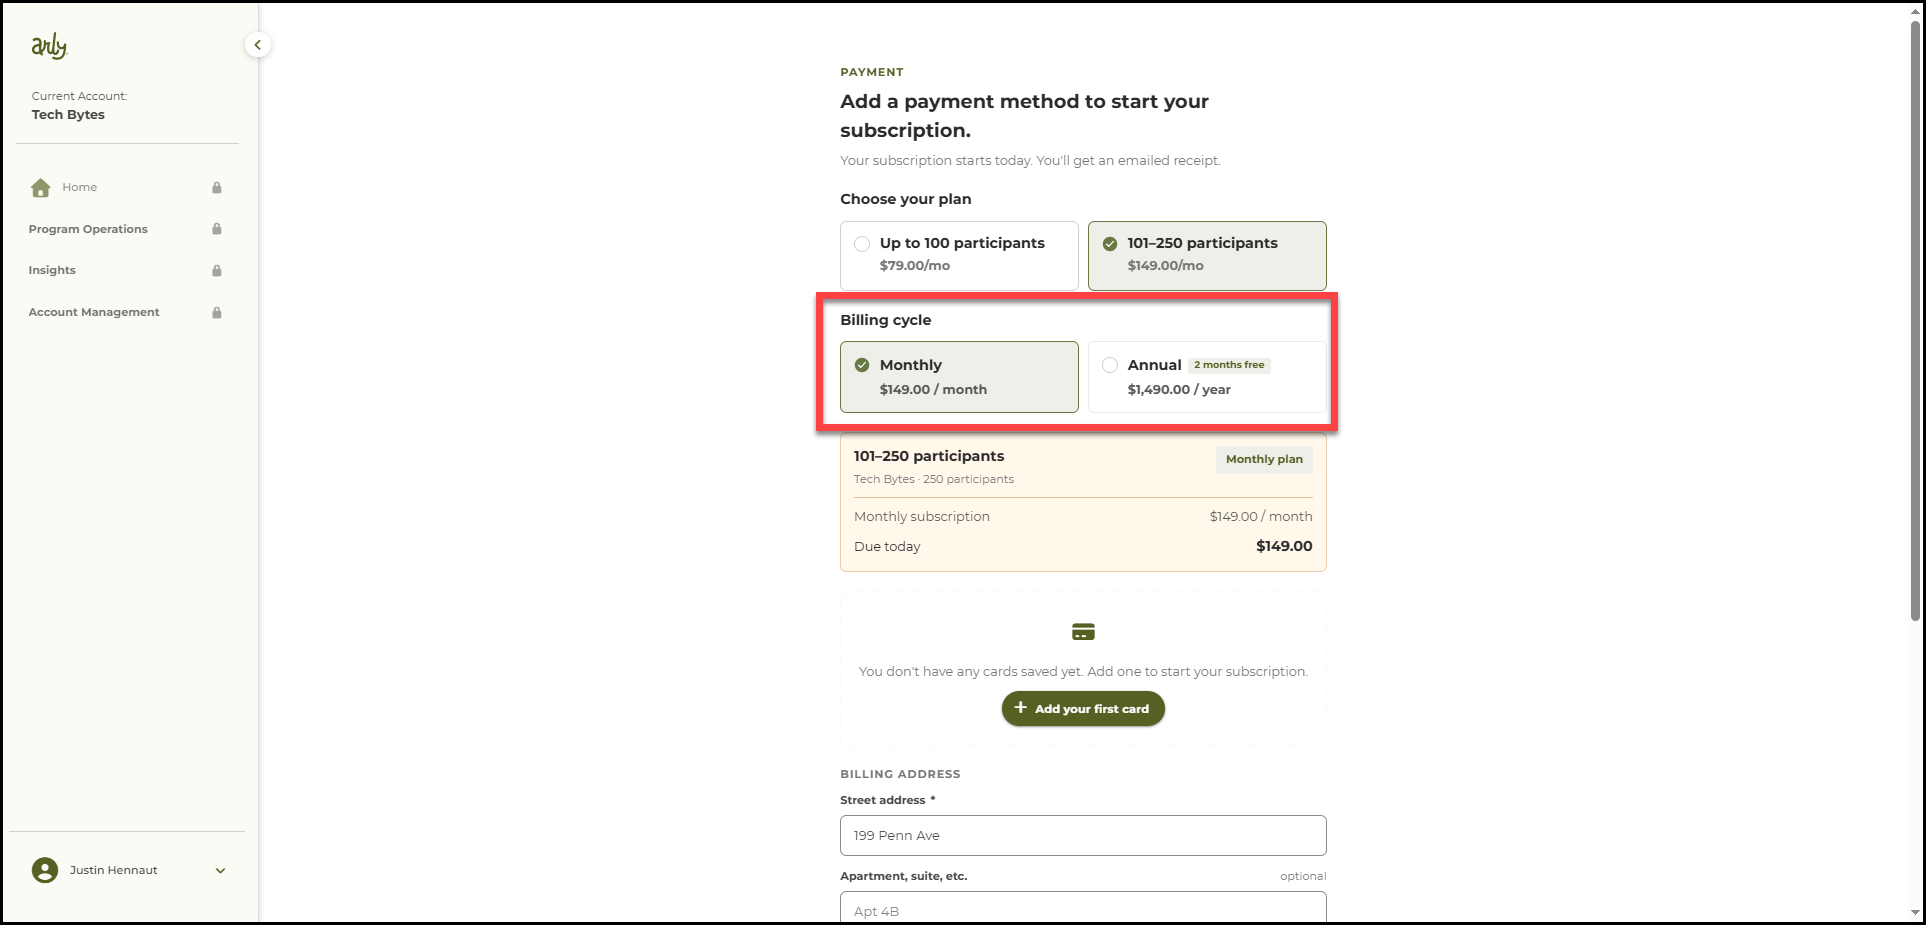
9. Add a payment method by selecting Add your first card.
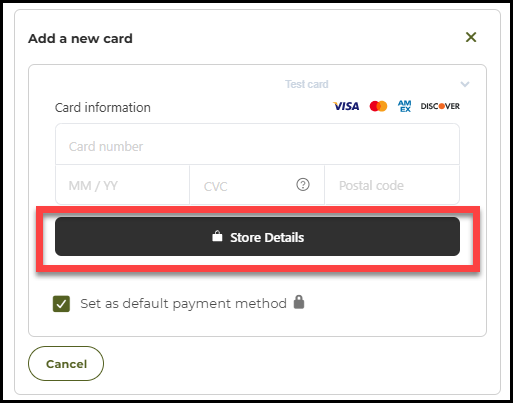
10. Enter the credit card information and select Store Details.
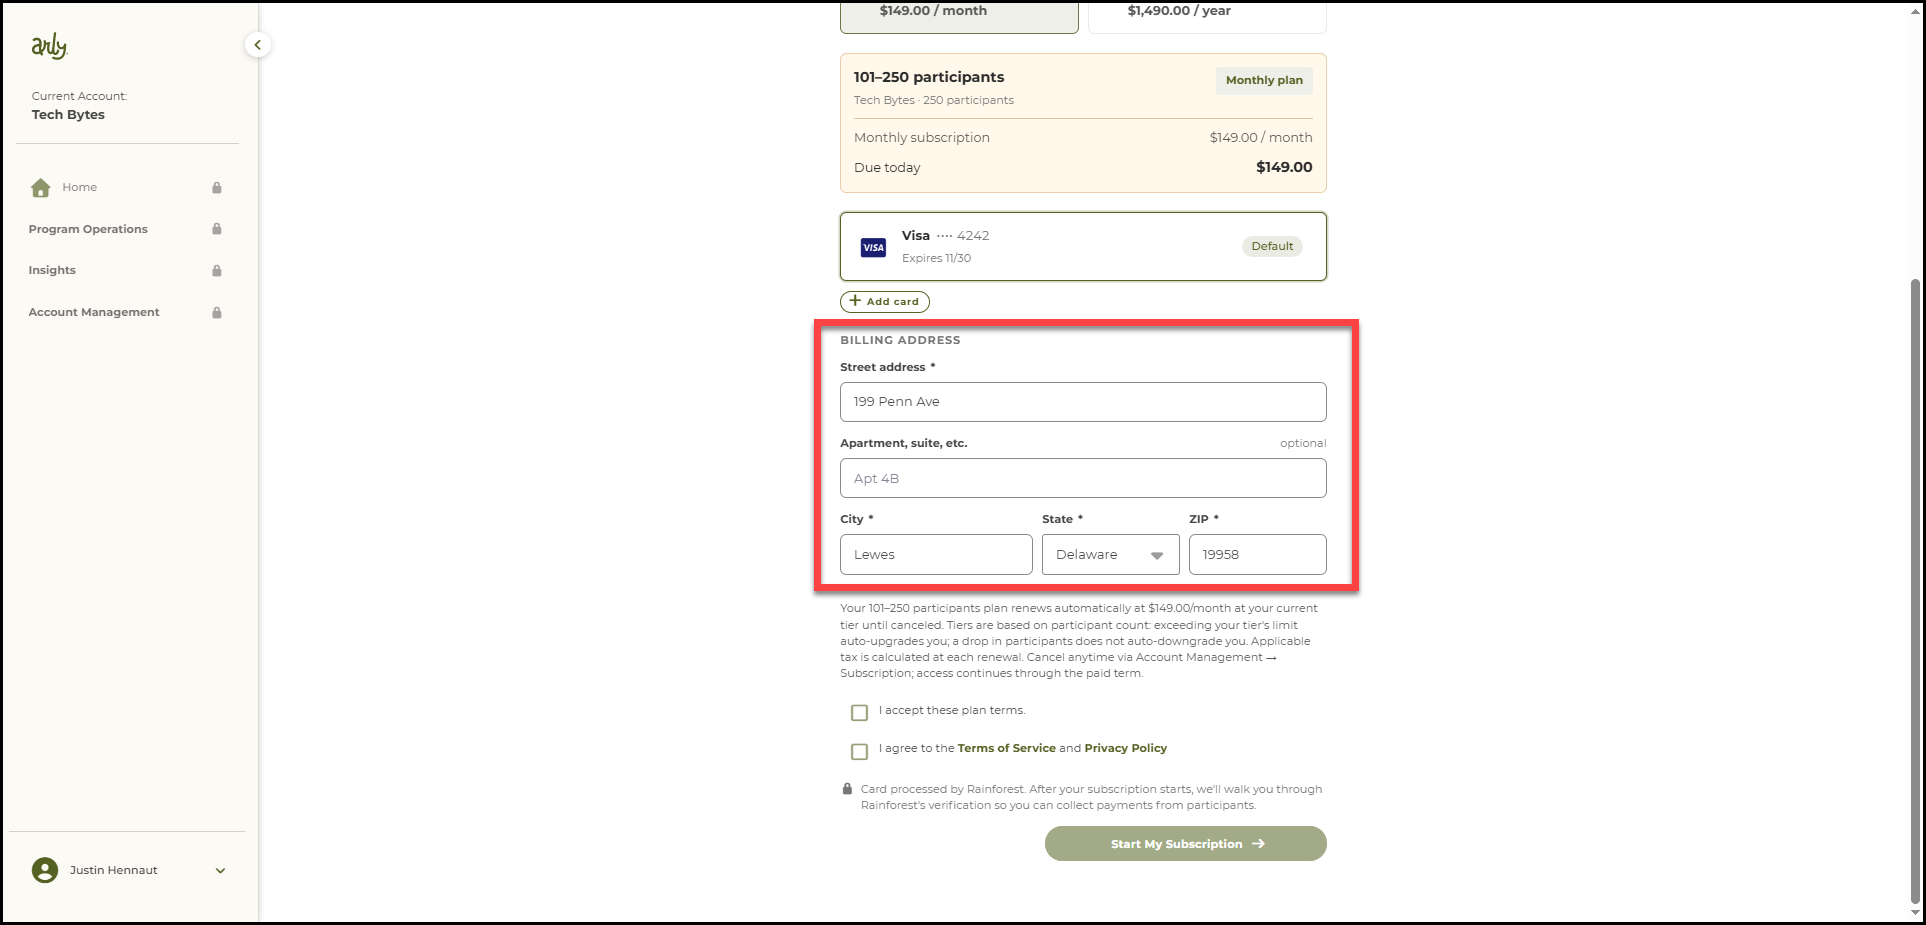
11. Check the billing address.
12. Accept the Plan Terms, the Terms of Service and the Privacy Policy.
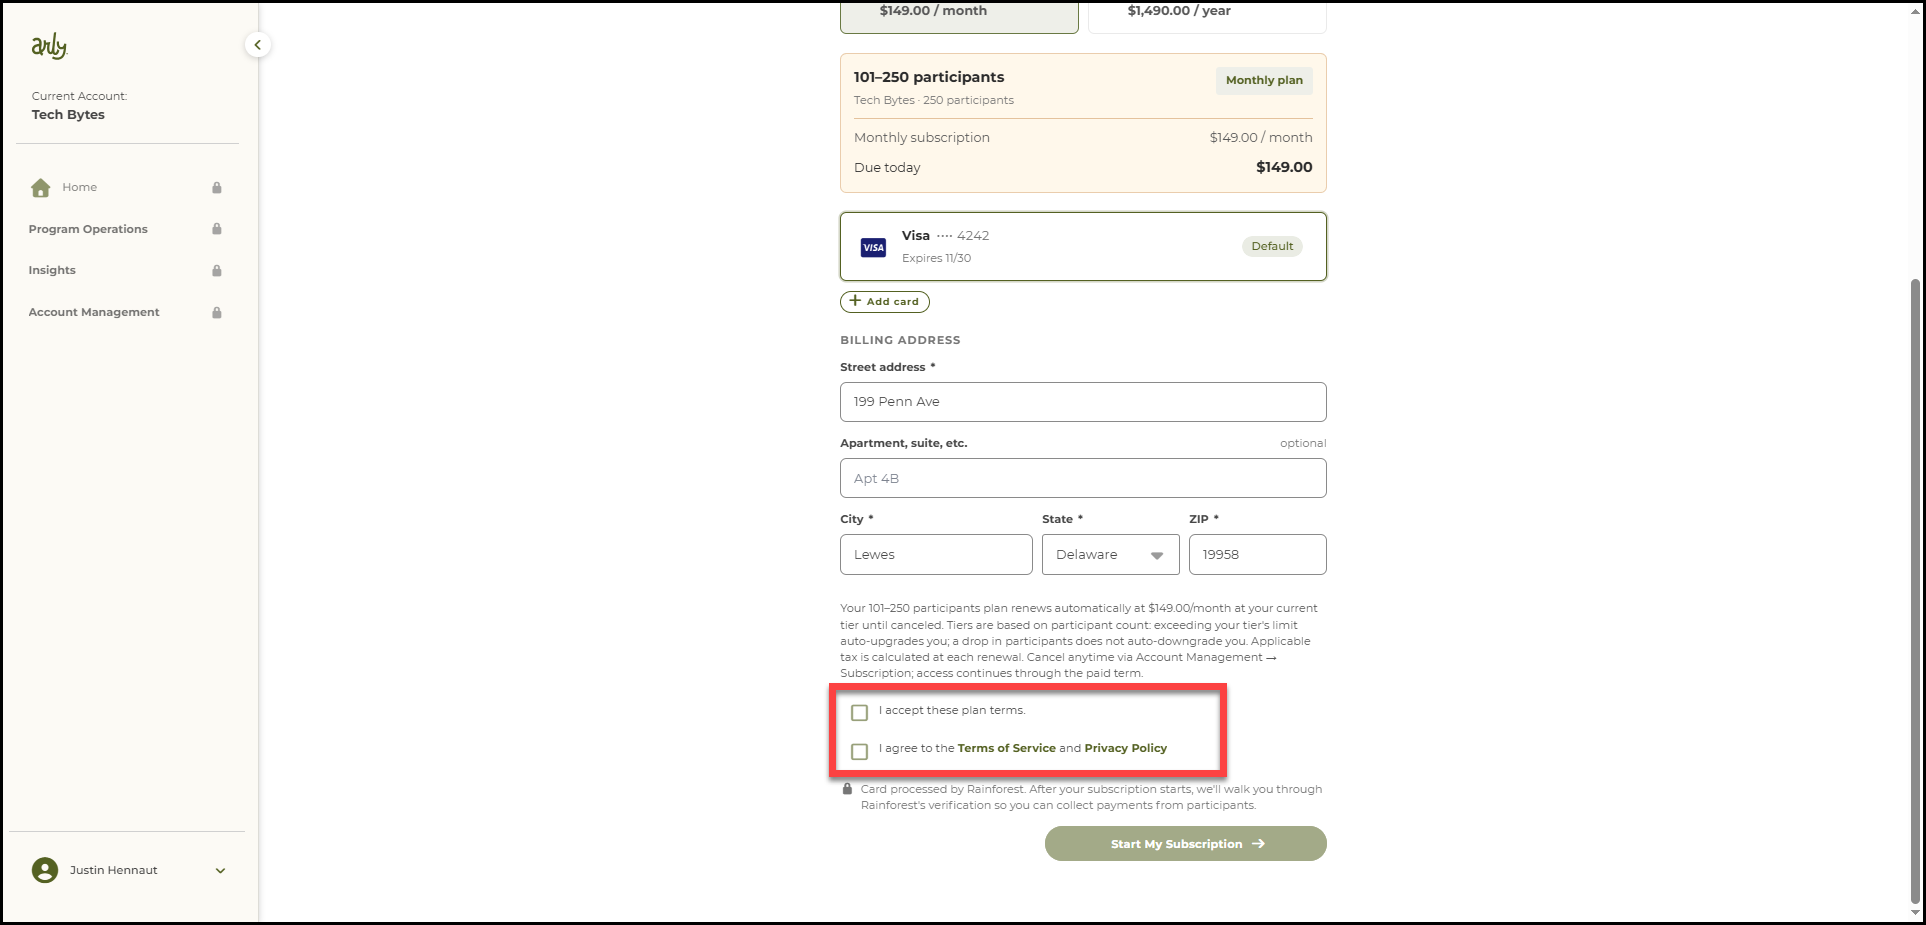
13. Select Start My Subscription.